
Can I Sand An Oak Table? An Expert Guide
Can you sand an oak table and bring it back to life?
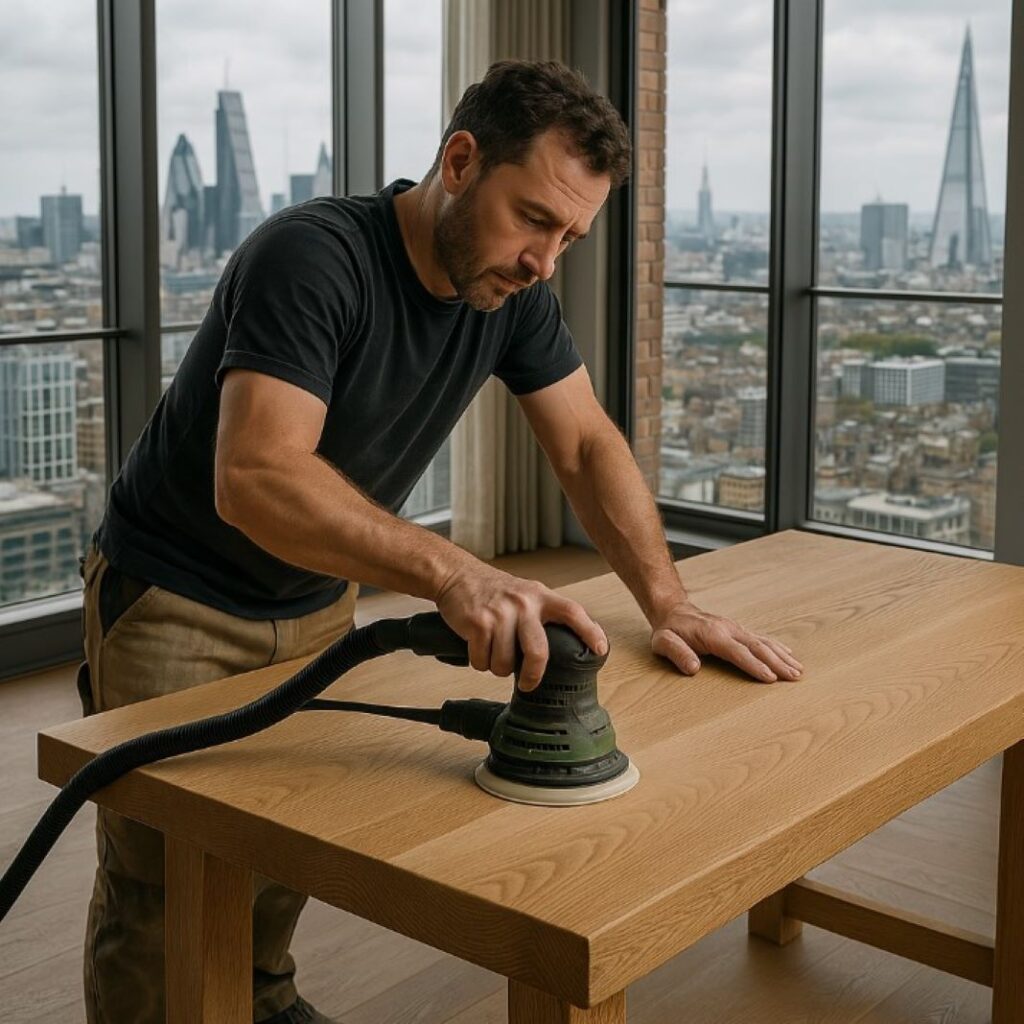
Yes, you can sand an oak table, and doing so is often the best way to restore its natural beauty, especially if it is scratched, stained or looking tired. Oak is a durable hardwood that responds well to sanding and refinishing. Whether you’re dealing with surface-level blemishes or deeper marks from years of use, sanding can help remove imperfections and prepare the surface for treatments like oil or varnish.
In this article about oak wood sanding care we have covered:
- Can you sand an oak table and bring it back to life?
- What makes oak suitable for sanding?
- Tools and materials needed to sand an oak table
- How do you prepare an oak table for sanding?
- What grit sandpaper should you use first?
- When should you stop sanding?
- Should you oil or varnish after sanding?
- How to apply Danish oil to a sanded oak table
- Can you remove water rings or stains without sanding?
- How to clean oak furniture after restoration
- Is sanding by hand a good idea?
- What does it cost to sand an oak table?
- FAQS
- Need help sanding or restoring a wooden table in North London?
What makes oak suitable for sanding?
Oak is a dense and resilient hardwood with a clearly defined grain structure. This means it can handle abrasion better than softer woods like pine, making it a great candidate for restoration. The grain also helps hide minor imperfections after finishing, which contributes to a smooth, polished look. Because of its durability, oak tables can often be sanded and refinished several times throughout their lifespan.
Tools and materials needed to sand an oak table
Before starting, gather the necessary equipment:
Orbital or belt sander
Sandpaper in various grits (80, 120, 180, and optionally 280 for finishing)
Vacuum cleaner or brush
Lint-free cloth
Protective gloves and dust mask
Danish oil, wax, or wood varnish
Tack cloth for removing fine dust
Optional tools include a detail sander for edges and corners, and a scraper for thick varnish or lacquer layers.
How do you prepare an oak table for sanding?
Start by clearing the surface. Remove any accessories and thoroughly wipe down the table with a damp cloth to remove surface dirt. If the table has a wax or oil finish, consider using a mild degreasing cleaner suitable for wood. Let the surface dry completely before moving on.
If the table is disassembled or has removable legs, take them off to make the sanding process easier and more thorough. This also helps avoid damaging joints or fastenings during sanding.
What grit sandpaper should you use first?
Begin with 80 grit sandpaper to strip away old finish, lacquer, or varnish. Move the sander evenly across the grain, keeping pressure consistent. For deep scratches or stains, go over the area more than once. If the oak has carvings or curved edges, switch to a multi-sander or sand these sections by hand with sanding blocks.
After the coarse sanding phase, move to 120 grit. This stage refines the surface by smoothing the texture left by the coarser grit. Follow the same sanding direction to maintain a consistent look.
When should you stop sanding?
Once the surface feels smooth and uniform and no visible lacquer or deep marks remain, you can proceed to 180 grit for the final finish. This removes any remaining swirl marks or small imperfections. If you plan to apply a high-sheen finish or clear varnish, a final pass with 280 grit will help achieve a more professional result.
Always clean off dust between each sanding phase using a vacuum cleaner and tack cloth. This prevents loose particles from scratching the wood during the next round.
Pro Tip: Always sand with the grain, not across it — this helps prevent visible scratches and keeps the natural pattern of the oak looking sharp.
Should you oil or varnish after sanding?
Choosing between oil and varnish depends on how you use your oak table. Oil finishes, such as Danish oil or linseed oil, soak into the wood and bring out the grain, offering a warm and natural look. They provide water resistance and a soft touch but require regular maintenance.
Varnish sits on top of the surface and creates a tougher, more protective layer. This makes it better suited for tables that are frequently used for dining or placed in high-traffic areas. If you want a coloured or satin finish, varnish offers more variety. However, it may hide some of the wood’s natural grain.
How to apply Danish oil to a sanded oak table
After the final sanding stage and dust removal, apply Danish oil with a lint-free cloth or brush, following the direction of the grain. Allow the oil to soak in for 15 to 20 minutes, then wipe off any excess with a clean cloth. Leave it to dry for several hours before applying a second coat.
For a smoother finish, lightly sand with 280 grit between coats. Most projects benefit from two or three applications, depending on how porous the wood is. Always ensure good ventilation while oiling.
Can you remove water rings or stains without sanding?
If you’re dealing with light surface stains or water rings, you may not need to sand the entire table. Household tricks like rubbing mayonnaise into a water mark can sometimes lift the stain thanks to its oil content. For tougher marks, try white toothpaste or a mix of baking soda and water, gently rubbed onto the spot with a soft cloth.
If stains are dark and embedded deep into the grain, full sanding may be the only solution. Always test any stain-removal method on a small hidden area first.
Pro Tip: Use a tack cloth after each sanding stage — even fine dust can mess with how oil or stain soaks into the wood, leaving blotchy patches.
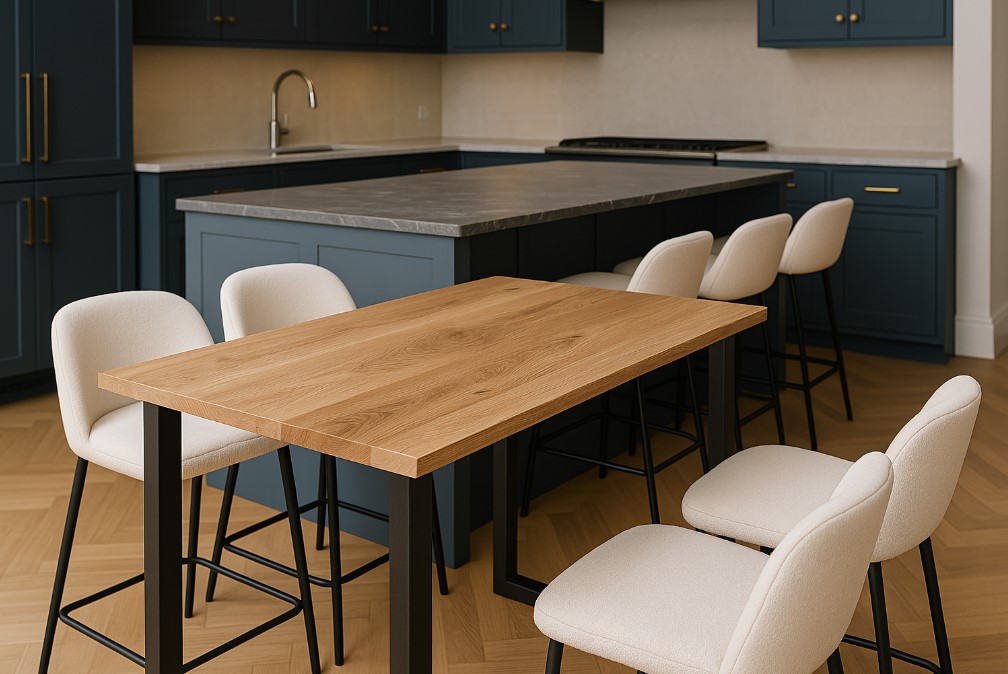
Sanded Smooth, Ready for Life
Got a table that’s looking tired? We’ll help you bring it back to life — or handle the sanding and refinishing for you in North London.
How to clean oak furniture after restoration
Once the table is treated and dry, keep it clean using a slightly damp cloth. Avoid commercial spray cleaners unless specifically made for wood. Reapply wax or oil as needed to maintain the finish. Avoid putting hot items directly onto the surface, and always use coasters or placemats to prevent future damage.
For antique or older oak furniture, handle with extra care. Avoid harsh abrasives and stick to gentle cleaning methods, such as a mix of vinegar and olive oil for polishing and stain resistance.
Is sanding by hand a good idea?
Hand sanding is completely possible and sometimes preferable, especially for smaller tables or intricate areas. It takes more time and effort, but offers more control and precision. Use sanding blocks or sponges and follow the same progression in grit from coarse to fine. This method also reduces the risk of over sanding or removing too much material.
What does it cost to sand an oak table?
If you already own the tools, sanding and treating your oak table could cost as little as £20 to £30 for sandpaper and oil or varnish. Hiring or purchasing electric sanders can increase the cost, with multi sanders ranging between £80 and £130. However, compared to buying a new oak table, the savings are considerable and the results rewarding.
Restoring your own table is also a great way to add a personal touch to your furniture while giving it a second life.
FAQs About Sanding and Refinishing Oak Tables
Is it better to sand or strip an oak table?
It depends on the state of the finish and how thick it is. If your oak table’s covered in thick old varnish or paint, chemical stripping can save you hours of sanding. But if the finish is light or you prefer to avoid harsh chemicals, sanding works just fine — just go steady and use the right grits. We’ve done both, and sometimes a quick strip followed by a light sand is the sweet spot.
What is the best way to sand oak?
The key is to go with the grain, not against it, and don’t rush. I start with 80 or 120 grit, depending on how rough the surface is, then move to finer grits like 180 or 220 to finish. An orbital sander works well for flat areas, but we switch to a sanding block or sponge for the edges and legs. Wipe between each grit to clear the dust — makes a big difference.
What grit sandpaper is best for oak?
For general refinishing, we usually go: 80 → 120 → 180 or 220. Start coarser if you’re stripping old finish, but don’t skip the in-between grits — they help smooth out scratches left by the previous round. For light touch-ups or sanding between coats of finish, 220 or even 320 is ideal. Always test on a hidden bit first.
How do you refinish an oak table without stripping?
If you want to skip chemical strippers, you can sand the old finish down just enough to give the new one something to stick to. Use medium grit (around 120), go lightly over the surface, then clean off the dust. From there, apply your new finish — oil, stain, or poly — depending on the look you’re going for.
Did you know?
Solid wood furniture should be kept away from heat sources and direct sunlight
According to DFS, placing your wood table next to a radiator or in strong sunlight can cause warping, cracks or uneven fading over time. Finishes like oil and lacquer react differently to environmental changes, so maintaining stable indoor conditions is key to long-lasting results.Water and heat can cause irreversible damage if not managed properly
Cotswold Rustic recommends using placemats and coasters at all times, especially for hot or cold items. Even a simple water ring from a glass can wear through the protective finish. They also advise drying surfaces thoroughly after cleaning to prevent moisture damage.

Need help sanding or restoring a wooden table in North London?
If you’re based in London — especially around Hornsey, Crouch End, or Muswell Hill — and have a wooden table that’s seen better days, we’re nearby and happy to help. Whether it’s a scratched-up oak top, faded finish, or just years of wear showing through, we offer proper, hands-on restoration work to get it looking right again.
We specialise in sanding, refinishing, oiling, and surface repairs for solid wood tables, desks, and benches. No harsh chemicals or slapdash jobs — just careful, honest work done in our North London workshop. We’ve handled everything from minor surface touch-ups to full strip-and-refinish projects.
You’ll find us on High Street in Hornsey (N8) — local to Crouch End and easily reachable from surrounding areas.
Get in touch:
55 High Street, London N8 7QB
020 8341 6334
Local? Pop in and show us what you’re working with. We’ll take a look, talk through your options, and figure out the best way to bring your furniture back to life.

Tablemaker
55 High St, London N8 7QB
02083416334
HVQM+58 London